| TURNOUT PLACEMENT TUTORIAL
|
| The use of these turnouts
follows a very simple principle.
- Invisible track is used to create the track
in the location of the turnout.
- The turnout is placed over top of it
- A point lever, which is designed to look
and act like a turnout blade, is added to the track.
However, to line things up correctly, is
fiddly work. The more careful and exacting you are the more rewarding will be the results.
Its still much simpler than the old days of cutting tracks and lining up the HO points to
your model layout.
---------
The following is an example only using a
crossover. However all points will follow a similar procedure
--------
When applying the POINT BLADE note that
the 10 & 20 degree blades come in both LH and RH motor choices. This will ensure that
the motor is placed to avoid covering adjacent track.
|
|
| STEP 1
|
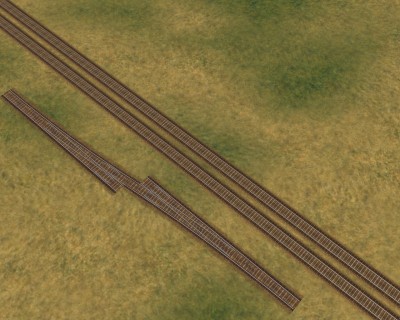 |
| Lay tracks at correct spacing
|
|
| STEP 2
|
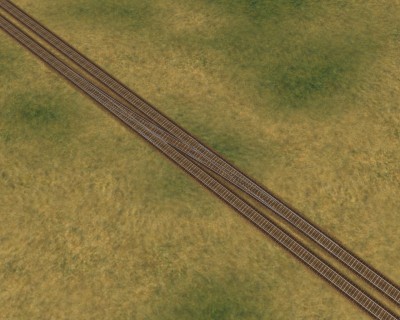 |
| Overlay required turnout
|
|
| STEP 3
|
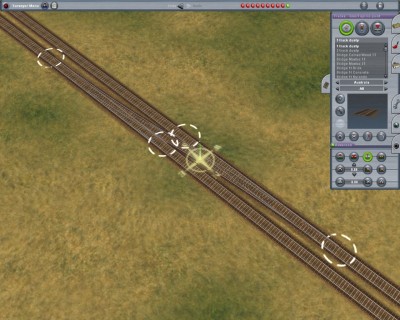 |
| Using track tool create spline point at approximate position of end points
of turnout
|
|
| STEP 4
|
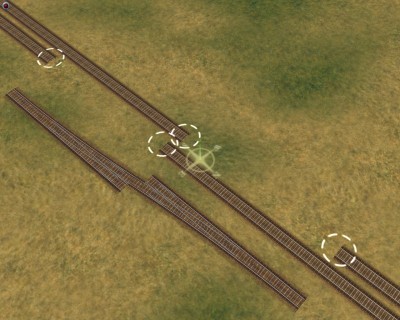 |
| Move turnout aside and delete track
|
|
| STEP 5
|
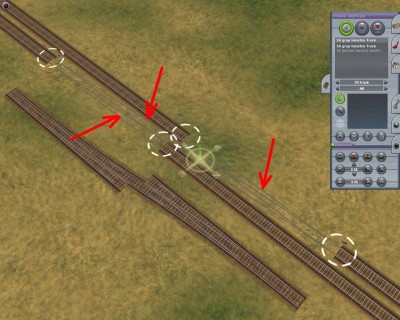 |
| Using the "SG grey invisible track" found under
"SG_track" join up the track ends (in this case 3 tracks)
|
|
| STEP 6
|
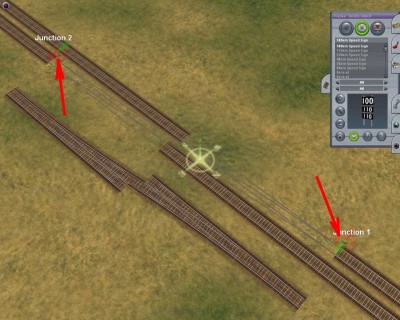 |
| Delete the switches that TRAINZ automatically places
|
|
| STEP 7
|
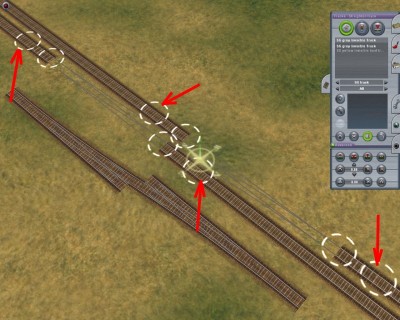 |
| Add additional spline points behind existing spline points
|
|
| STEP 8
|
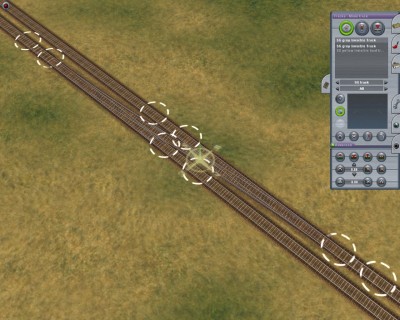 |
| Place turnout
back in position
|
|
| STEP 9
|
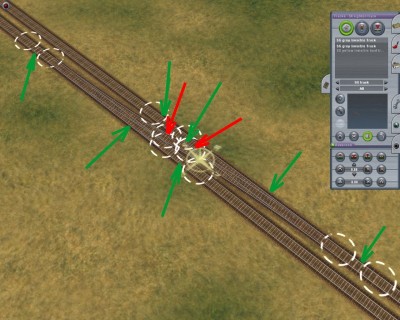 |
| Add two more spline point to the diagonal track (red arrows) and using the
track straightening tool straighten all "straight" pieces of track (shown by
green arrows - in this case 7 places)
|
|
| STEP 10
|
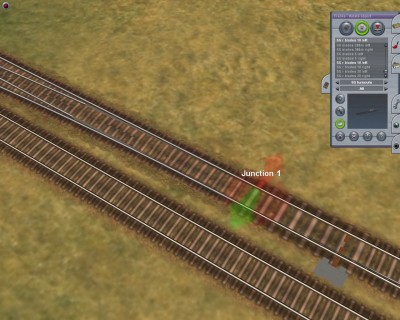 |
| Go to SG_turnouts menu, select required point blade and place in
approximate position (it may insert the wrong way around) Note that the 10 and 20 degree
blades have a choice of LH and RH motor so make sure you choose the correct one
|
|
| STEP 11
|
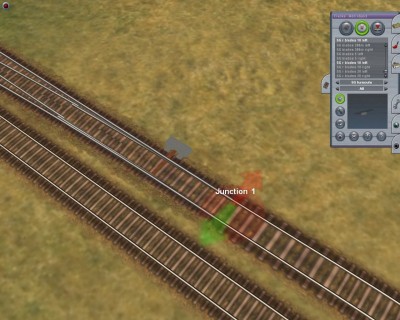 |
| If blade inserted the wrong way around use the rotate button and rotate
blade.
Then drag blade until it is in correct
position.
|
|
| STEP 12
|
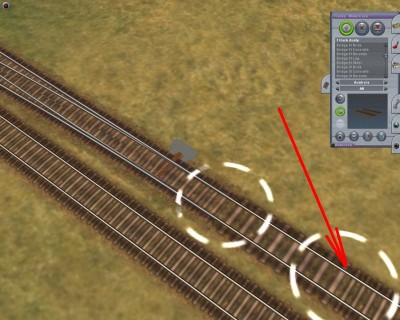 |
| If you have difficulty lining blade up then use the track move tool and
move the additional spline point until the blade is in the correct position
|
|
| STEP 13
|
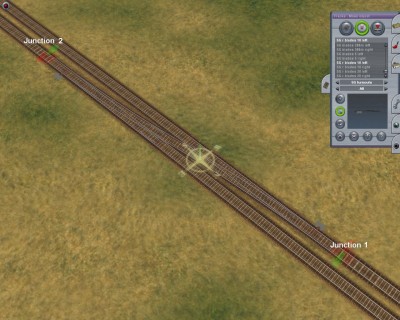 |
| Using the same principles as shown add the point to the other end
|
|
